Loading...

5 Easy steps to upcycle a coffee table…

By Talissa Bailey

Aug 27 2020

DIY

SHARE THIS VIA:
Facebook

Twitter

Pinterest

As you may know, my sister and I built a house together so we could both afford a really nice home. Despite having someone to split costs with, we were never going to have enough for all on our wish list. One of those things that got bumped was some tiling. We had always hoped to have beautiful patterned tiles laid in our outdoor area, however, budget constraints stopped us from doing this.

Beautiful tiled outdoor area that first inspired me

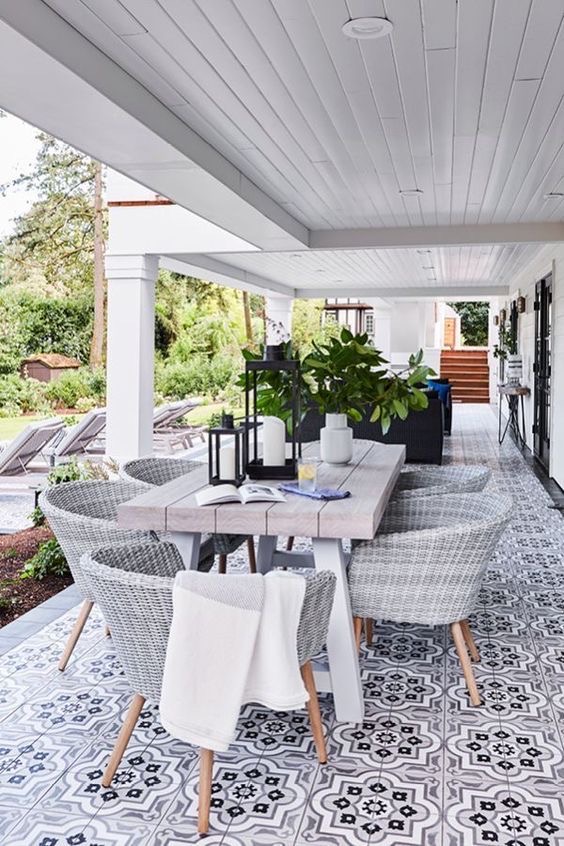
So, I decided to get creative. I bought a stencil from an online store based in the US.

Love my stencil from Pearl Design Studio

I was intending to stencil over the concrete to replicate the tile look. I had seen this on Pinterest and it looked amazing.

Inspo from Pinterest: How amazing does this stencilled patio look !

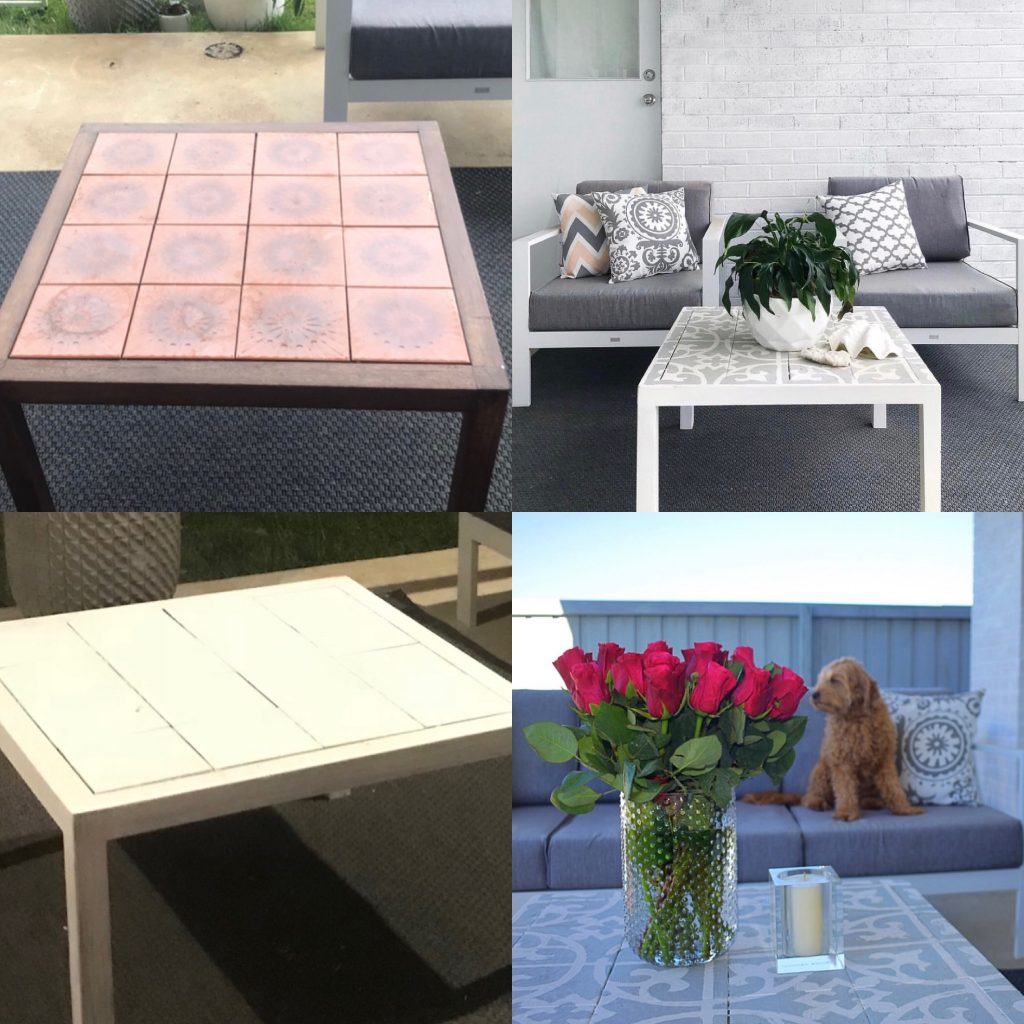
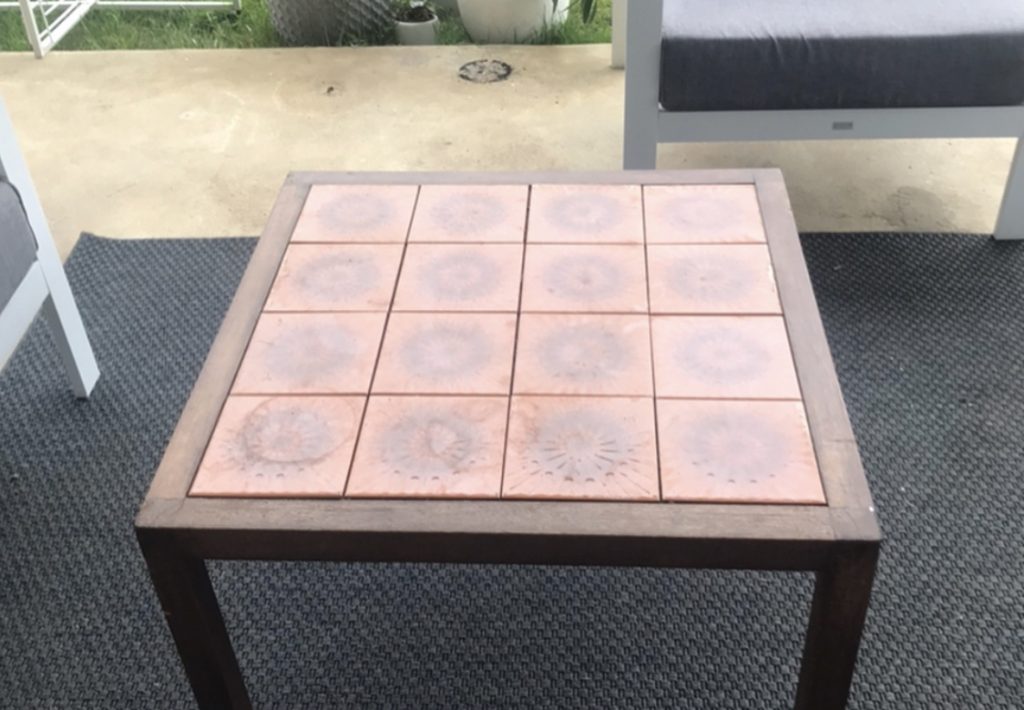
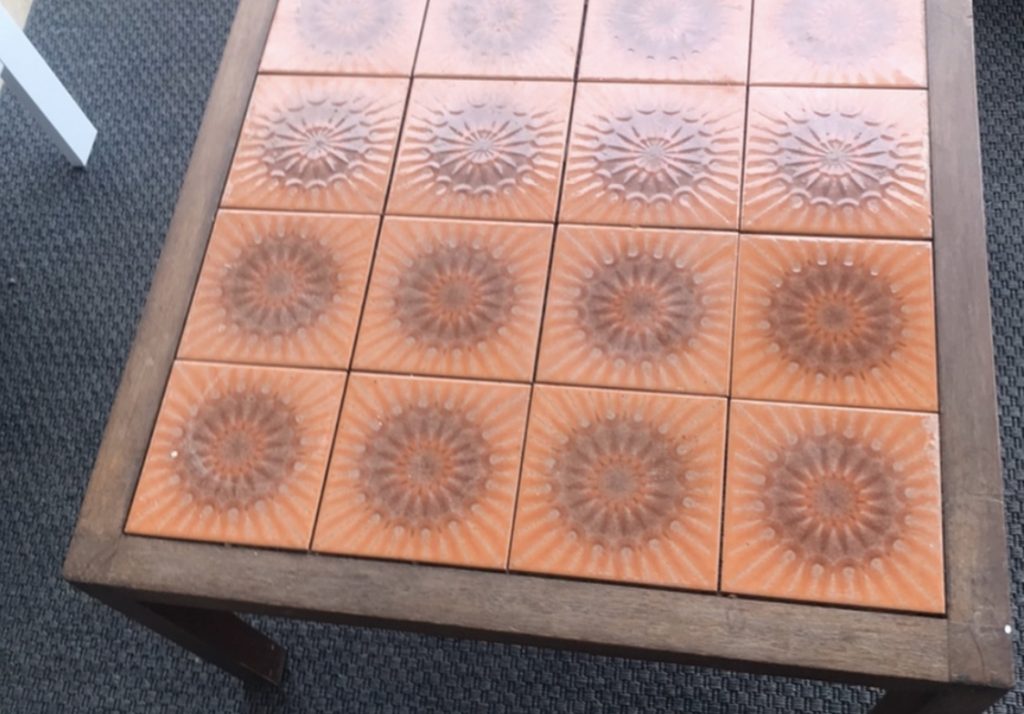
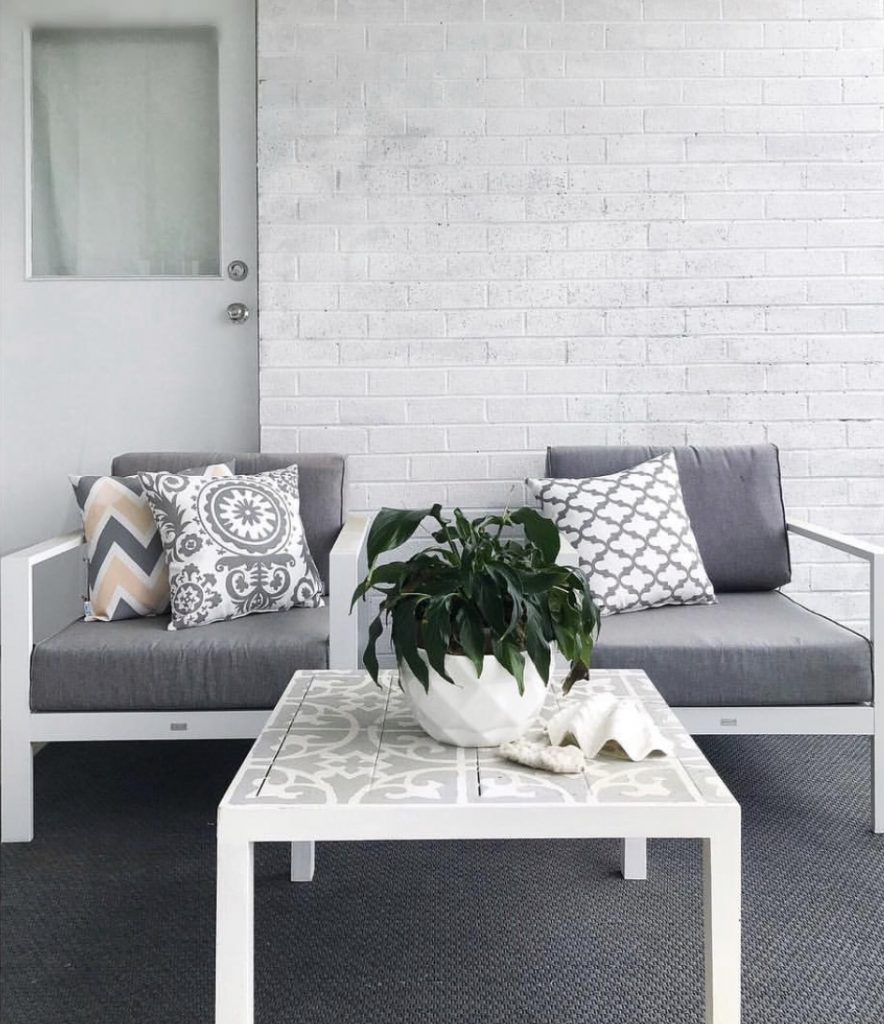
Unfortunately, my sister wasn’t keen so the unused stencil got stored away in the garage. Then came an opportunity to get that stencil back out of storage. My dad gave me an old coffee table that he had made back when he was at school in the 80’s. Initially I wasn’t sure what I wanted to do with it as it had a very dated orange tiled top, but I am very sentimental and I was never going to put it into storage. With a stencil and a lick of paint it has now become a favourite piece.

Made by my dad in the 80’s when he first attend trade school. How could I not keep this piece of my history!?!?!

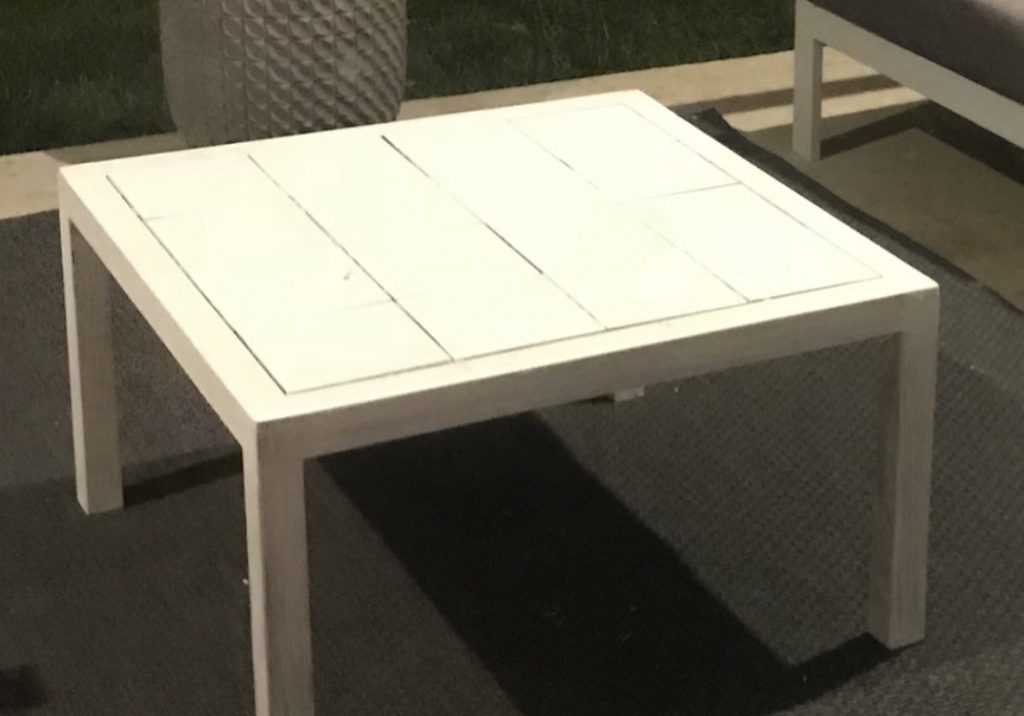
So, without further ado, here is how I upcycled my coffee table in 5 easy steps!

Close up shot – getting ready to give it a good dust and wipe
  1. First thing I did was give the coffee table a good dust and wipe down.
  2. Next, I lightly sanded the wooden frame (leaving the tiles untouched), then wiped off the sanding dust with a damp cloth.
  3. Once clean I painted a couple of coats on the frame, and on the top of the coffee table, with a white outdoor paint (the table was going to be in an undercover area however I felt an outdoor paint would be more durable).
  4. I then grabbed my stencil and roughly decided how I wanted the pattern to look, then held the stencil down whilst I painted over it with a light grey outdoor paint. Once I finished the stencilling I made sure I touched up the bleed lines that had happened as a result of me holding the stencil on by hand (you could tape the stencil down to prevent movement whilst painting, and I have since learned that using an artist’s spray adhesive is even better at preventing bleeding and holding the stencil firm)
  5. I allowed it all to dry for couple of hours. I didn’t feel it needed a top coat however depending on the use of the furniture it might be worth applying a varnish. (Varnishes are easily bought at hardware stores and you can get them to paint on, or in an aerosol).
During the process – Step 3

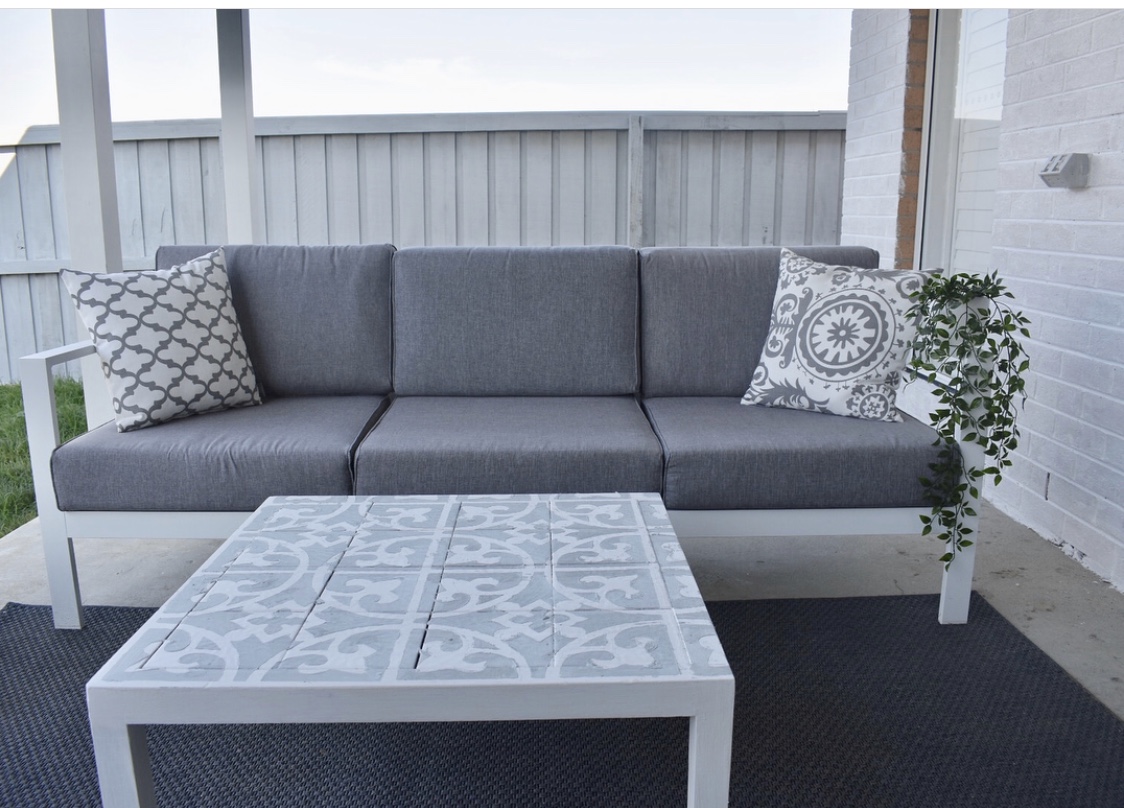
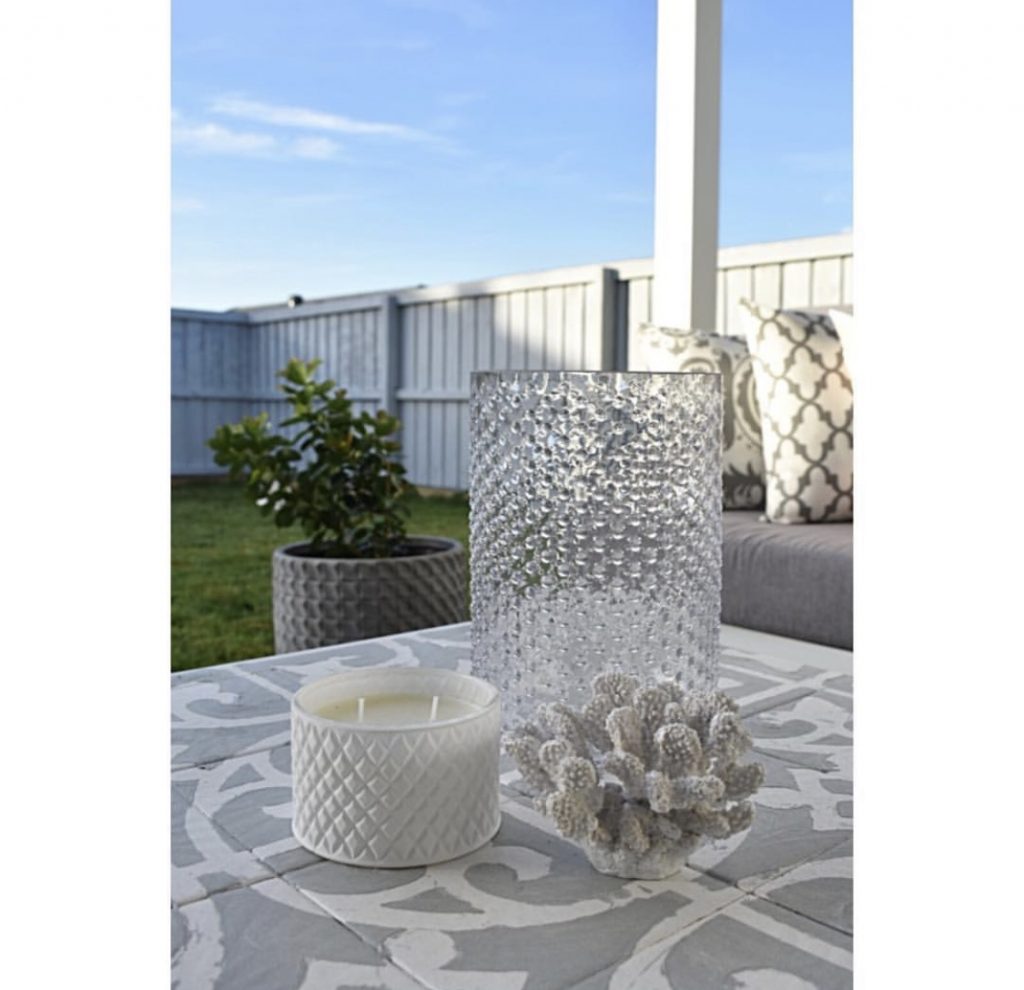
Now I have a beautiful stylish outdoor coffee table. Honestly, it’s one of my most complimented pieces when people come to my home.

The end result – so happy with my new outdoor coffee table

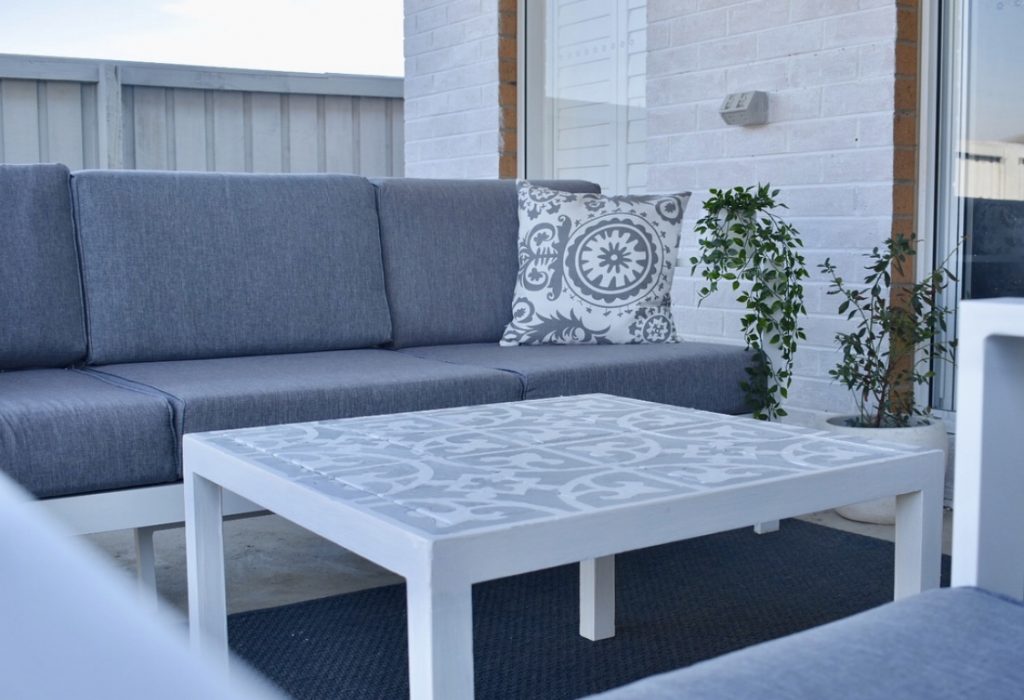
It gives me a great deal of pride to know that I saved something that has sentimental value, saved $$$ (that I would have spent on a new one), and saved the environment by using something existing instead of buying something new.

Styling my coffee table

If you’ve been upcycling, or even if you have a piece you are going to recycle, I’d love to see your photo’s!

Coffee Table is all set up and ready to entertain

Cheers Talissa

@baiinteriors

Post to Reply