How to upcycle your furniture….
Loading...


When I talk about upcycling furniture with people, most say that they are too scared to give it a try. They tell me they worry about how the quality will be at the end of it.
Like most things, the more you practise the better you get, and this task is no exception. As you do more and more projects you learn the tricks, like how many coats of paint are suitable for the different types of materials; how much you must prime; and so on…
Another thing I have learned is that every item is different and sometimes no matter how much prep and planning you do; it just might not work out. But don’t lose hope, you just need to adapt your plan. You might need to strip it back and use a different primer, or change the paint used. You never know, it may look different to what you imagined but you might surprise yourself and end up with something you like better.
I would
suggest for your first upcycle that you try to find a piece for free or low
cost, even if you don’t really love it, so that if you make mistakes there is
less frustration. Sometimes the more you value the piece, the more worked up
you get when it goes wrong.
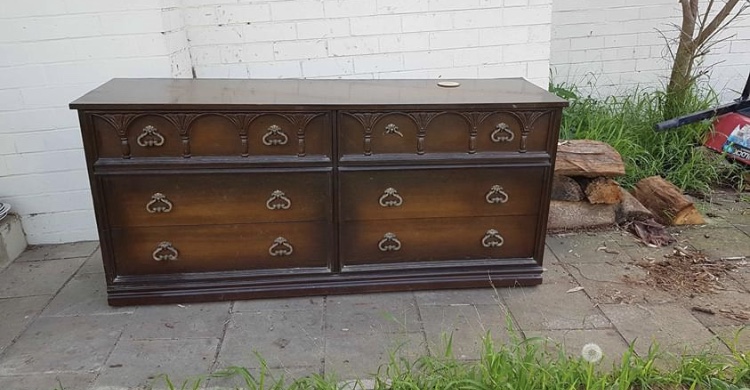
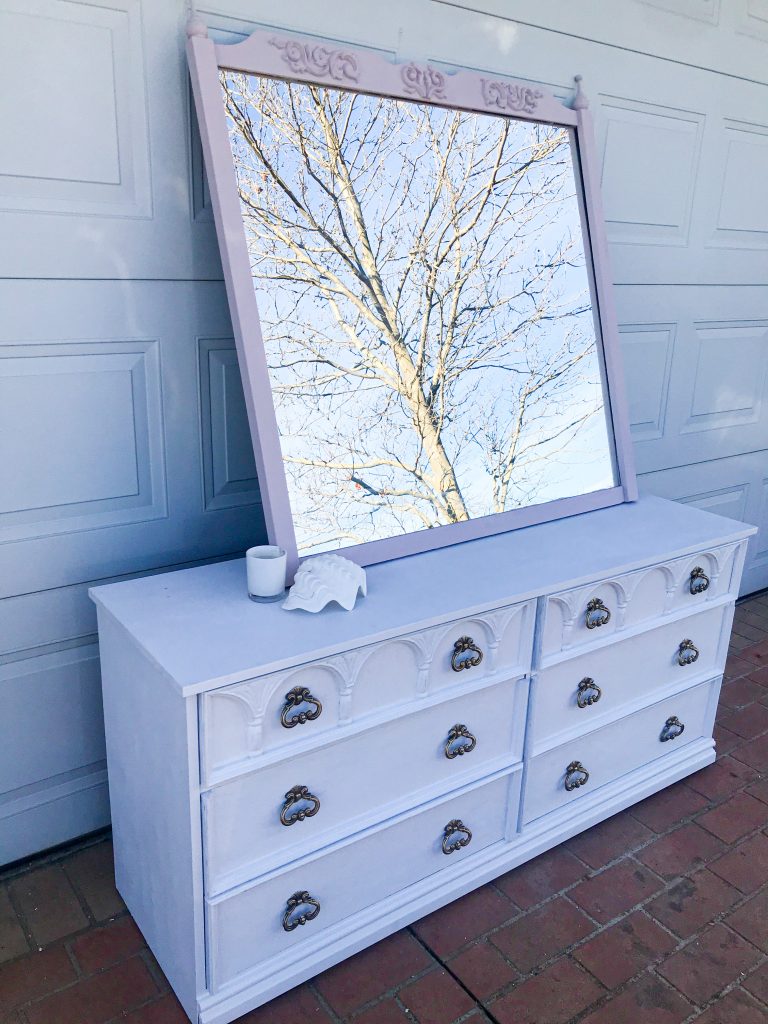
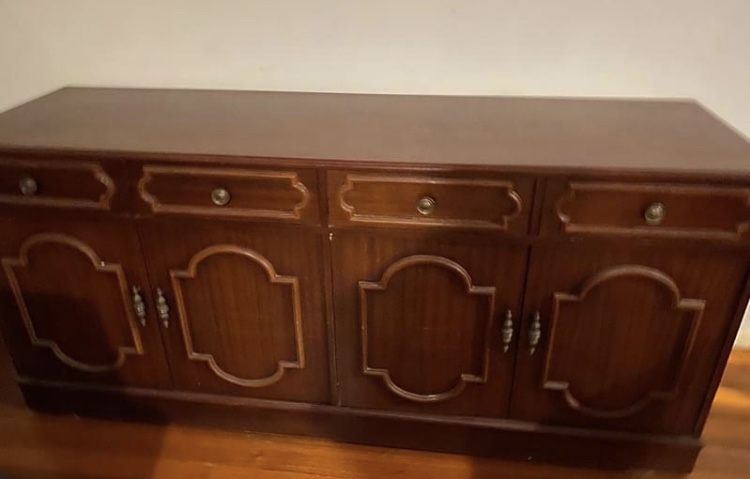
The first piece of furniture I upcycled was a bright turquoise dresser and mirror from Facebook Market Place. It was listed for $100.00 and managed to to get it for $80.00 AUD.
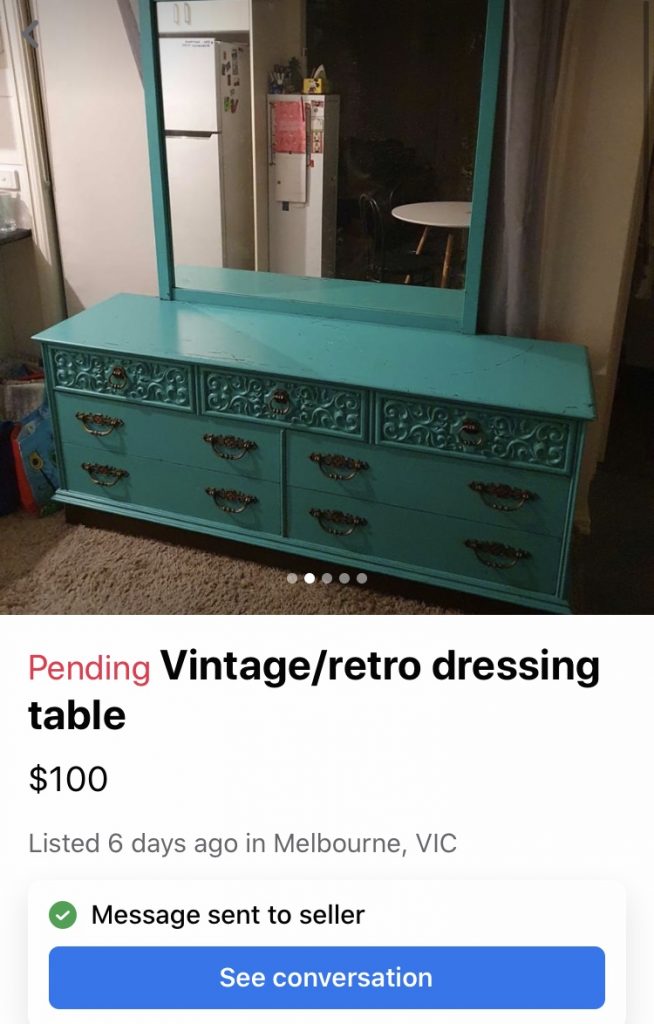
It had lots of marks, the mirror was removable, all the draws were in good condition and there was no major damage. I removed the mirror as I decided it was a little outdated, and then I set to work:

1.First thing I did was give the unit a good clean down. I used Sugar Soap for this. I got the feeling that the previous owner may have been a smoker, so I felt that it was also important to freshen it up a bit by spraying the drawers with air freshener to mask the scent. I have since learned that wiping it down with white vinegar is better at removing the scent all together.
2. I then removed all the cabinet handles with a screwdriver. The type of screw driver you need really depends on the screw that is attached to the handle. You generally will need to use a Phillips Head or Flat Head Screwdriver. You can generally pick one up from Bunnings, if you don’t already have one. In this case I was reusing the handles so I did not have to fill in any holes after removing them.
If you decided that you want to update or change your handles, and the new handles have different screw points, then you might need to bog the holes that already exist with a wood putty that you can buy from Bunnings. It is easy to fill, wipe off excess, and sand. This only works if you are going to paint though. It would be different if you were going to stain your furniture.
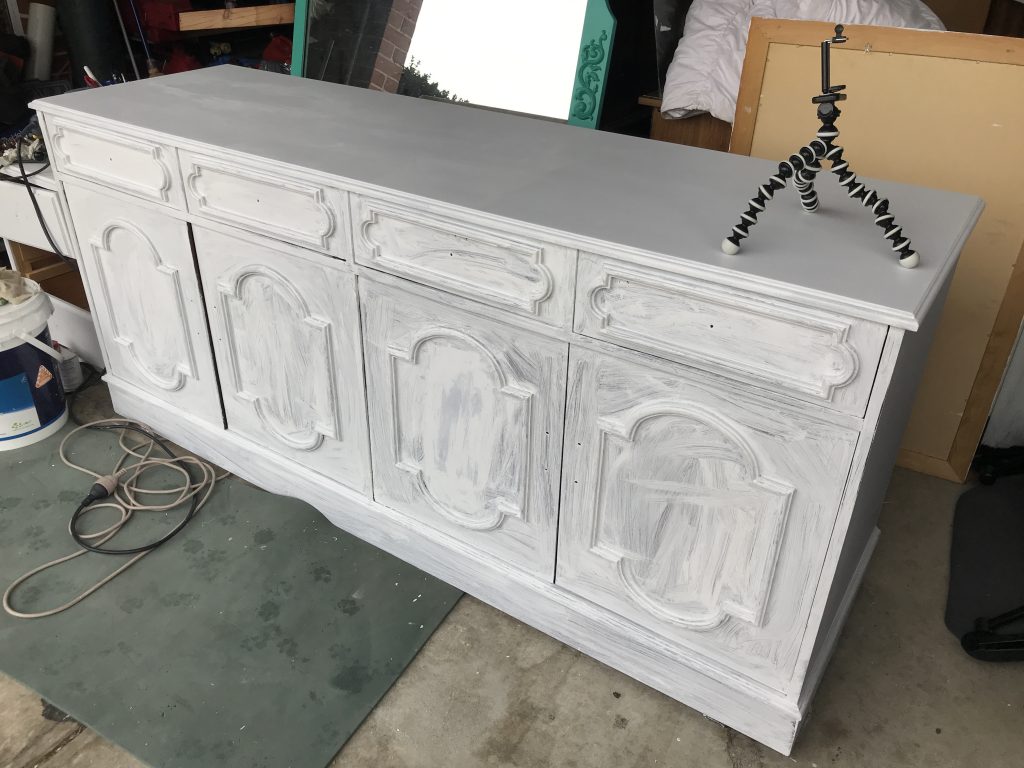
3. Once completed I gave the cabinet a light sand all over. Generally, you know you are successful when it feels like your hands do at the end of the day…rough. This is important to get the paint to adhere to the wood. I used a sanding block and some sandpaper for this job, though since then I have moved on to using a palm sander which makes the job much quicker.
4. As parts of my cabinet had mouldings and other detail, there were areas that were very difficult to get into to sand so instead I applied some ESP Surface Prep (eliminates the need for sanding) with a rag. It’s not a cheap product but you don’t need much for these small tasks. Just apply with a rag. Once I had done this, I needed to wait 90 minutes for it to set/dry.
5. I then painted the first coat. Personally, I prefer to use a brush, but you can also use a roller. I tried not to be too fussy for the first coat, as I felt that it was mainly about making sure all areas are covered well. Then I needed to wait for this to dry. This is very dependent on the weather. I had a gorgeous sunny day and waited an hour; however, you might need to wait up to 2 hours.
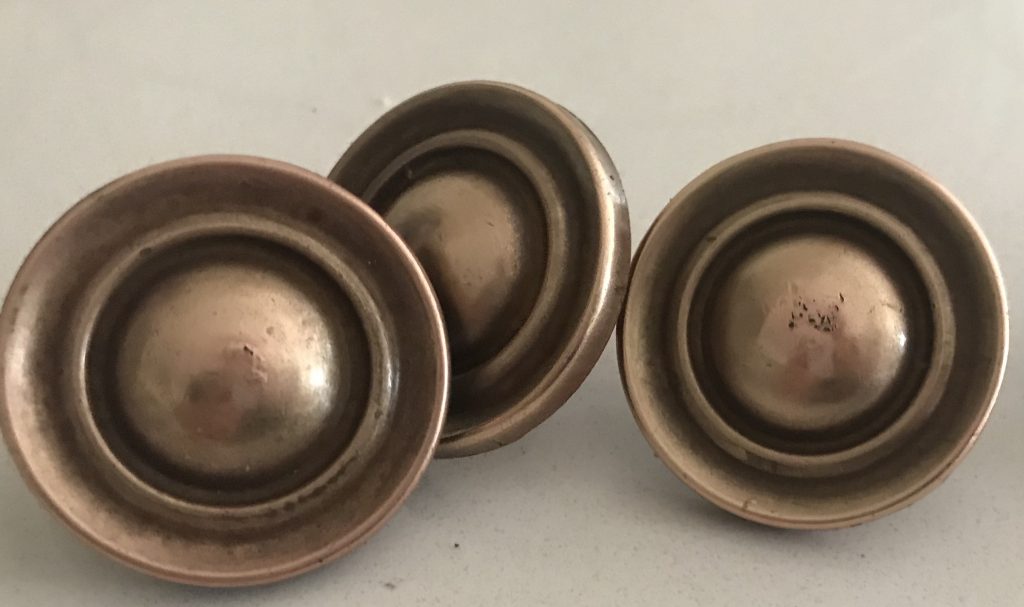
6. While waiting I generally like to restore my cabinet handles. Rather than the added expense of new handles, I usually try to clean and restore the hardware as I did for this cabinet. To do this, I put the handles in a pot on the stove, filled it with white vinegar making sure that they were fully submerged. I then let them sit for 5-10 minutes before yanking them out (carefully!) placing them on some paper towel and then scrubbing them with a piece of steel wool. Instantly I could see that all the grime was disappearing. What a difference!

7. Once my first coat had dried, I then painted my second, and then third coats. You may not need this many coats or you may need more, depending on the paint, the amount you put on your brush, etc. Between coats you will need to cover your brush or rollers to prevent them drying out and transferring lumps of dried paint in your next coat. This is as simple as wrapping them with glad wrap. You can even leave them overnight. In fact, I have been known to leave my brushes like this for days in our fridge and I can just start using them again without any problems at all. Alternatively put them in a buck of water to prevent them from drying out.
8. Another thing to be aware of during the painting of these additional coats, is that sometimes some little fluff, bug or dog hair has made its way into the wet paint, as it did for me, therefore leaving you with a lump in your paint job. You will need to give it a very light sand between coats, just around the area itself, and you may even need to do yet another coat, but it will be worth it.
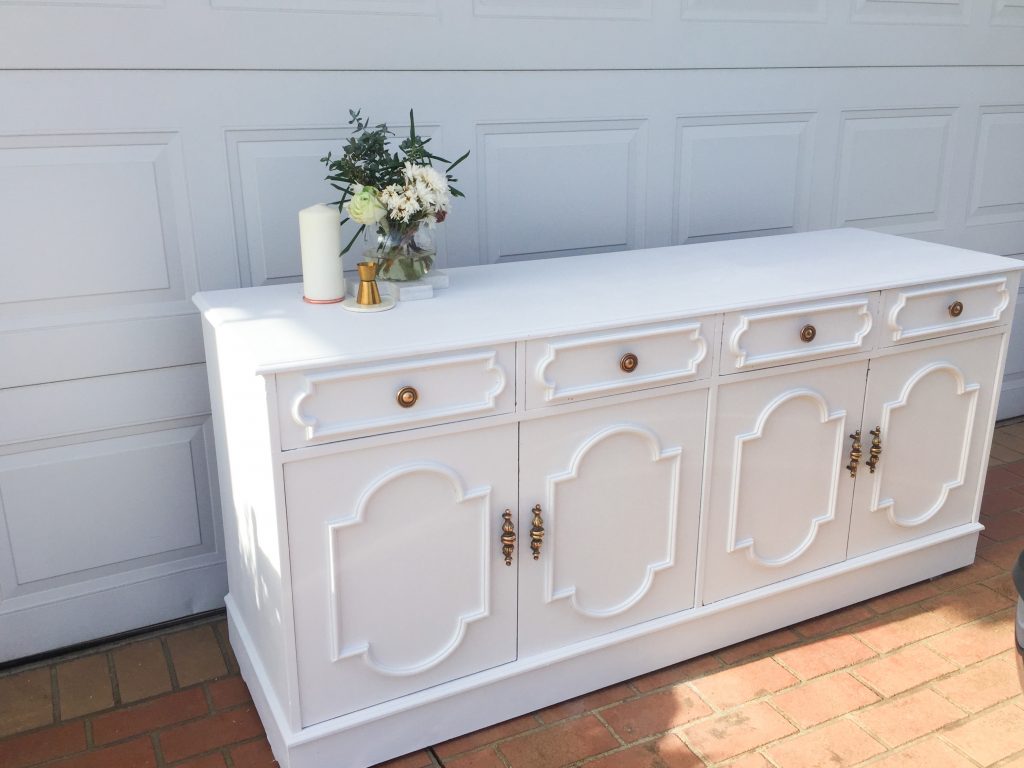
9. Once completed I applied one coat of clear topcoat and allowed it to dry. Beware, standard wall paint can chip quite easily and definitely needs a protective coat when being applied to furniture.
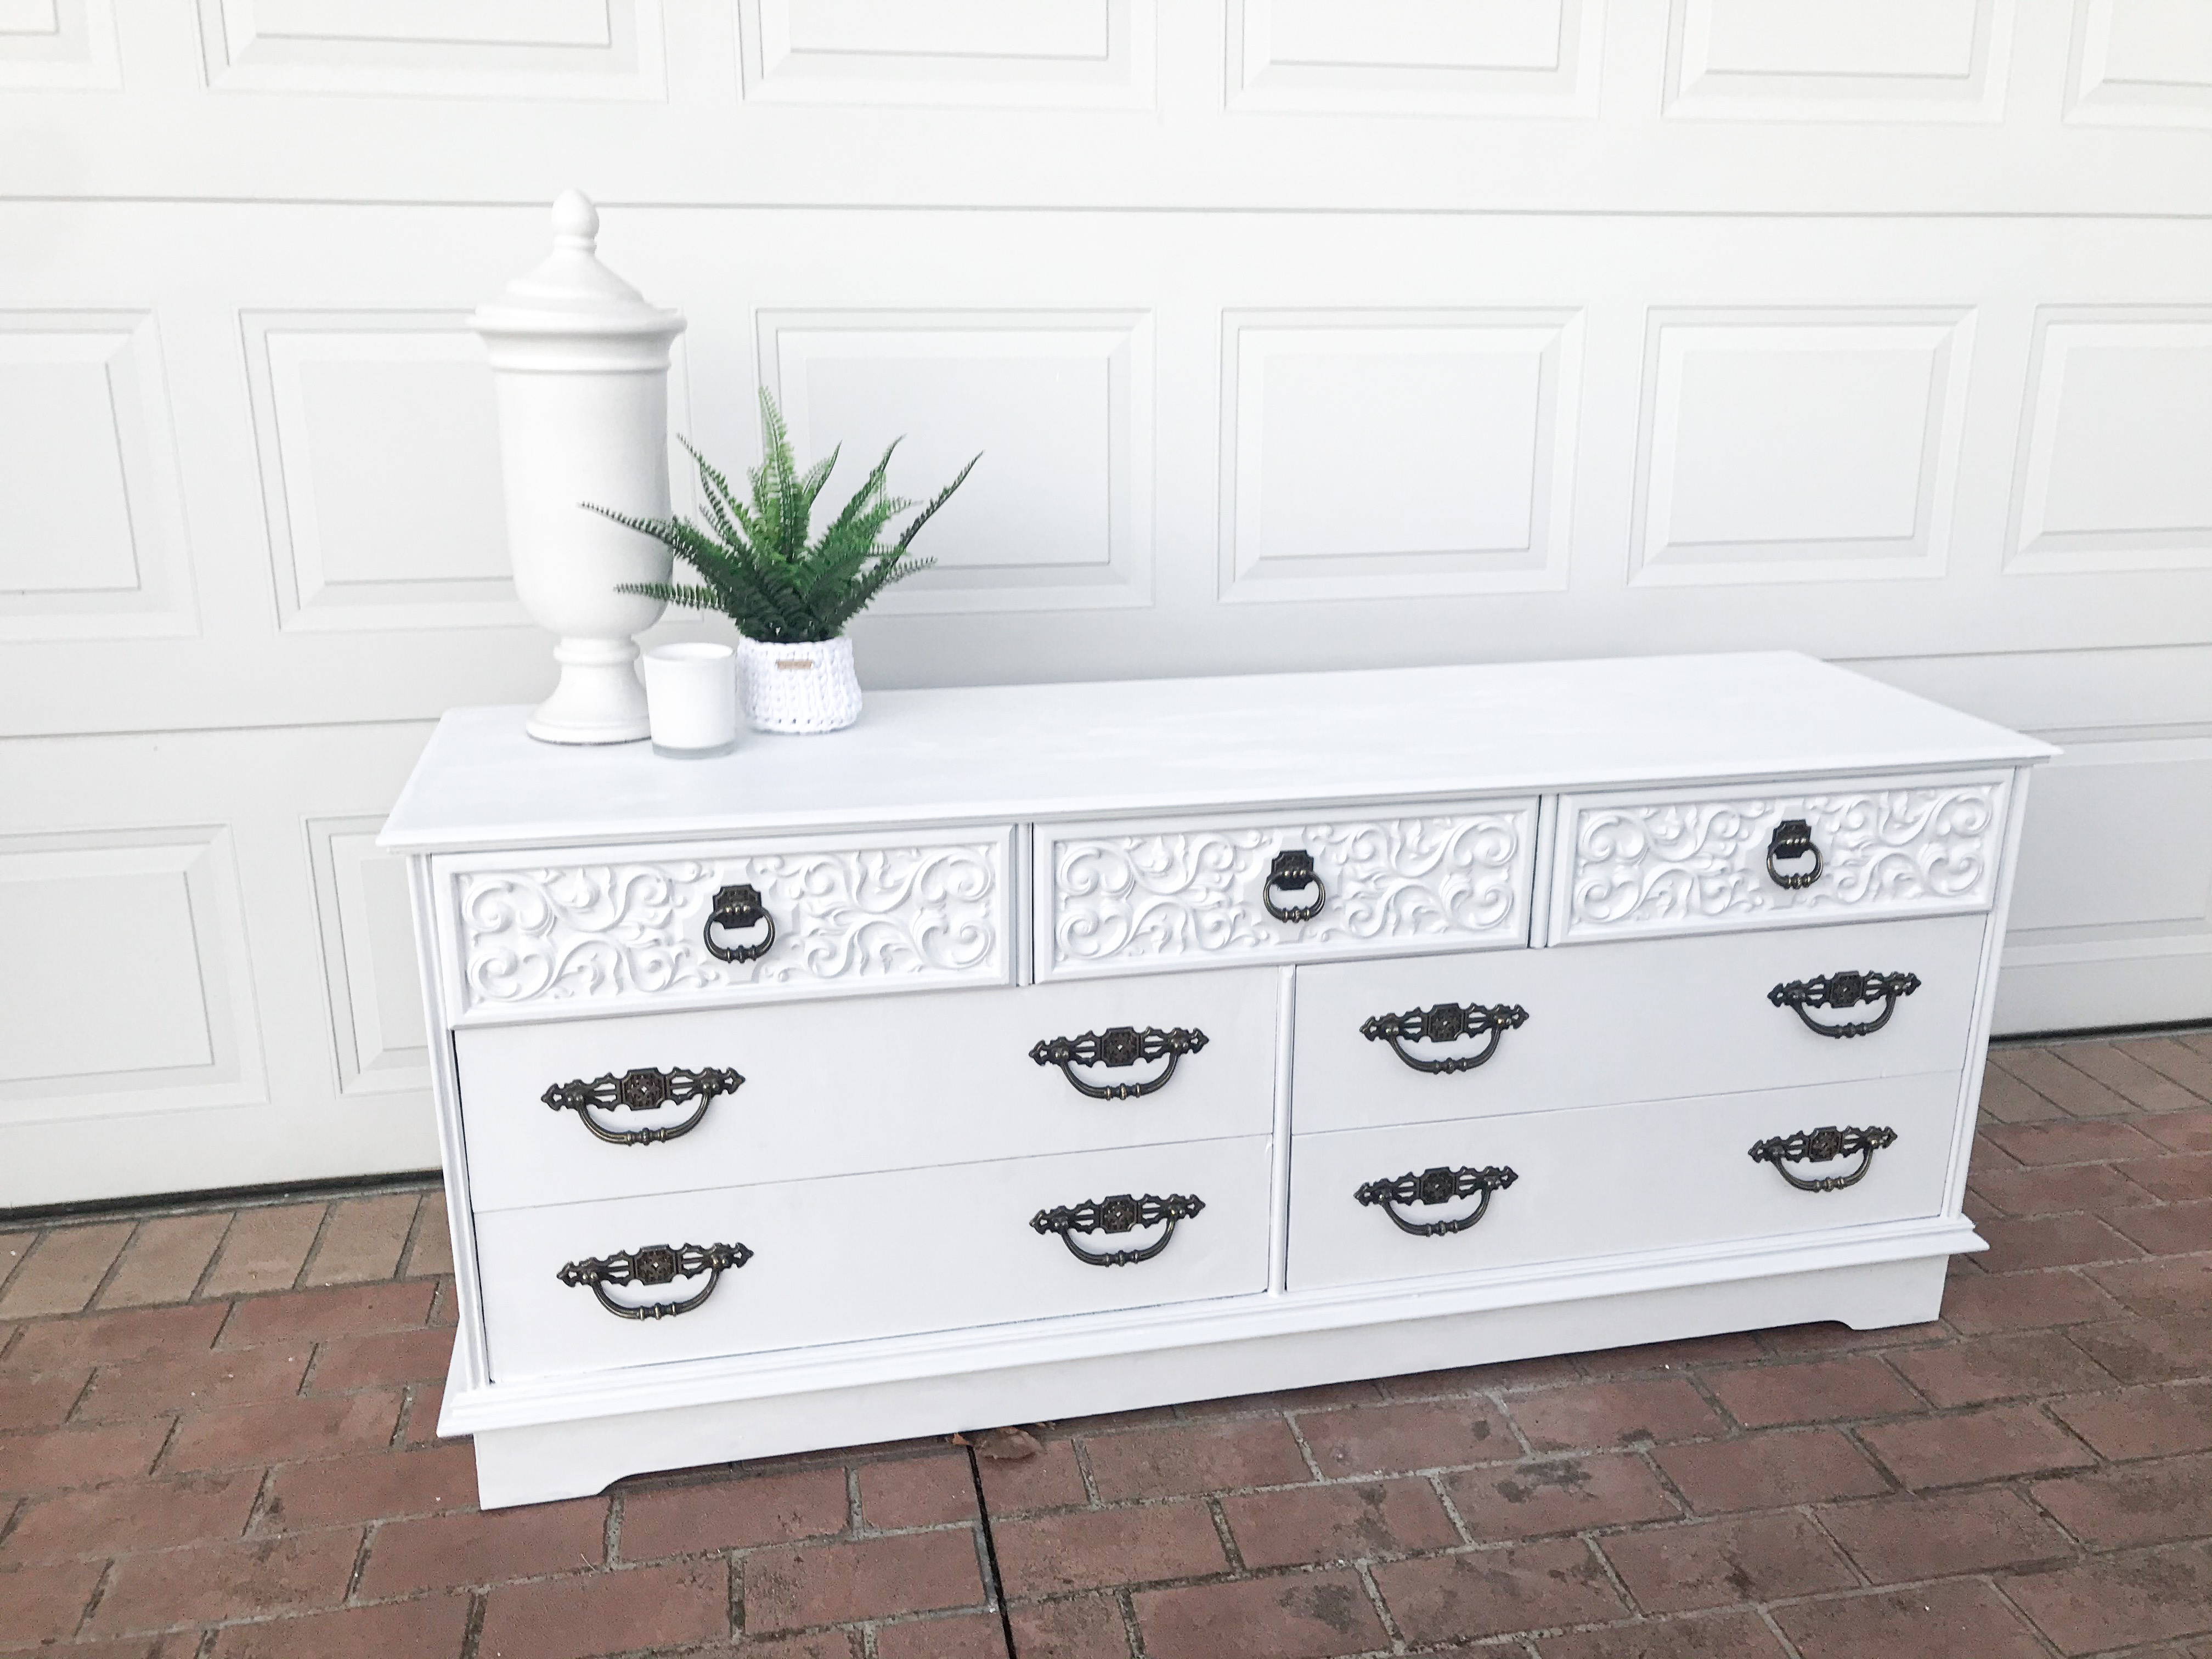
10. I next re-attached my handles and then the best bit…standing back and admiring the finished product. It may not have been perfect, but I felt stoked. I had done something productive and got something great as a reward.
When you finish your first project take the time to stop and be proud of your efforts. You will likely have learned so much and have something wonderful to keep!
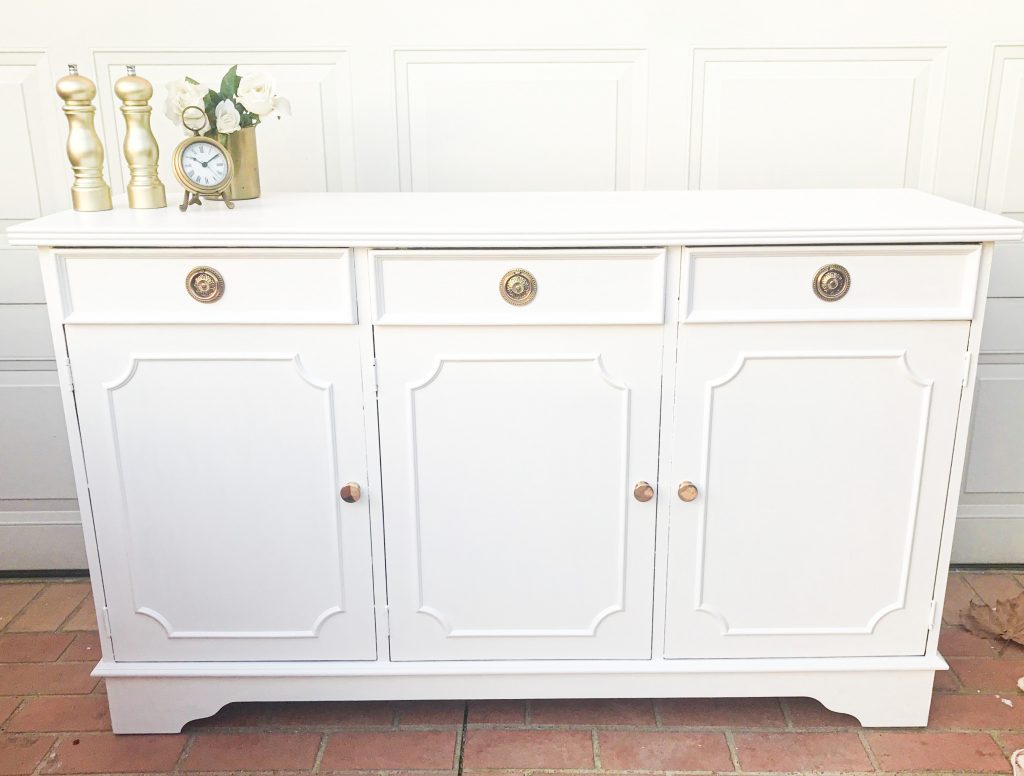
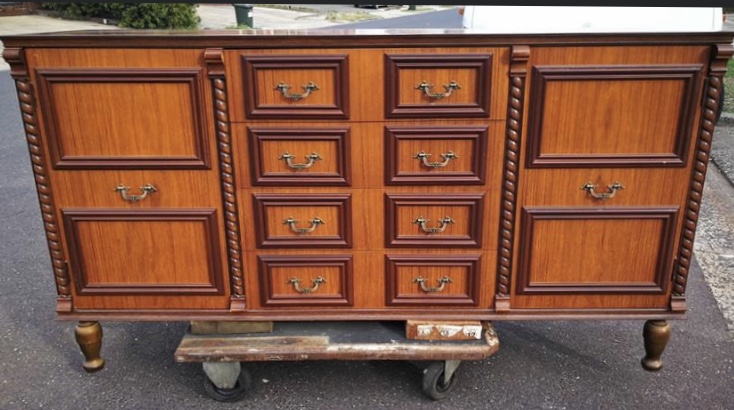
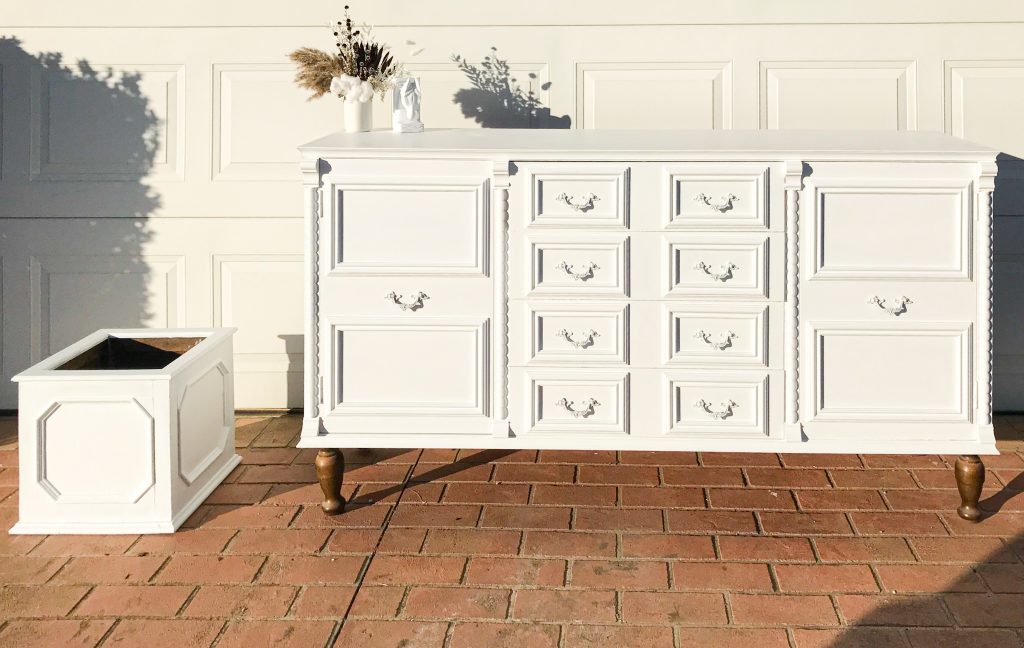
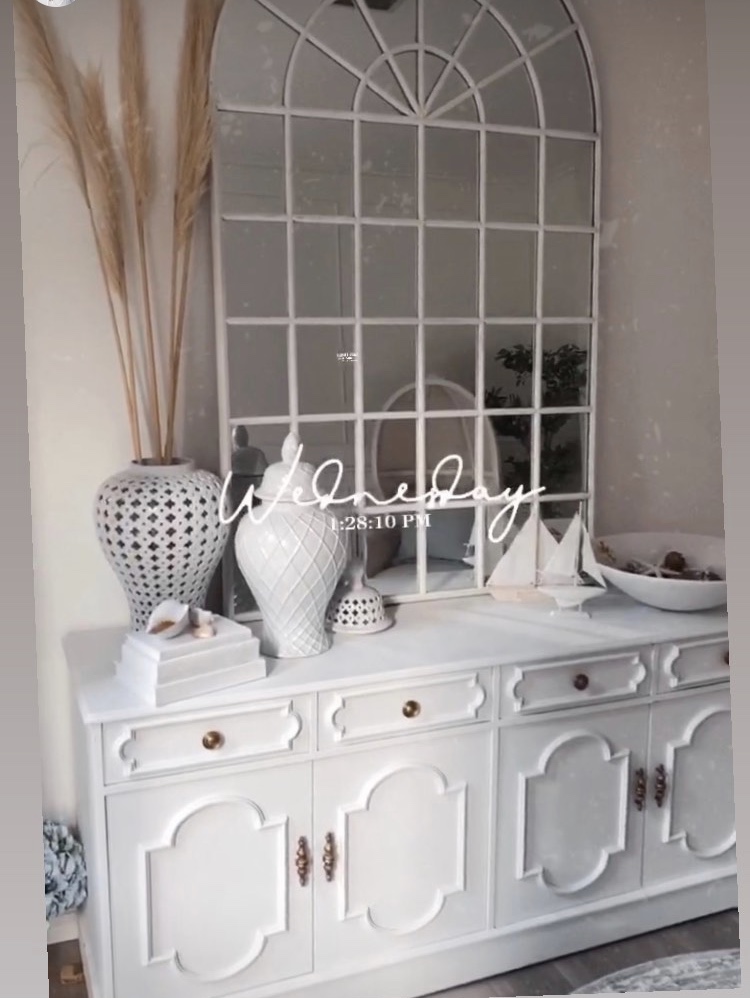
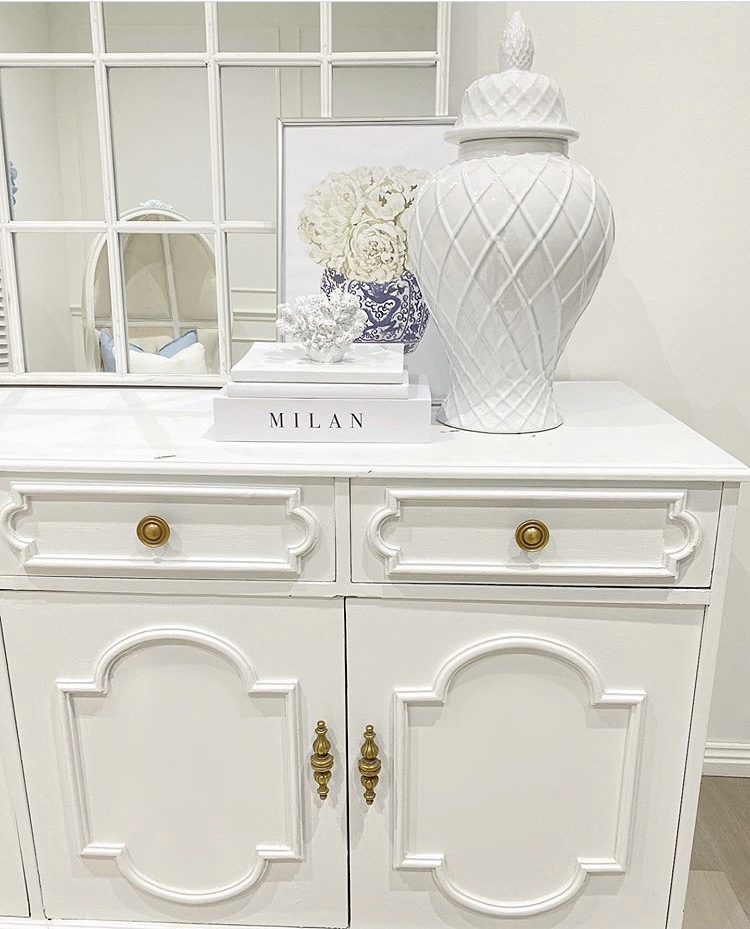
Below are some more photos of some of my other upcycling projects:
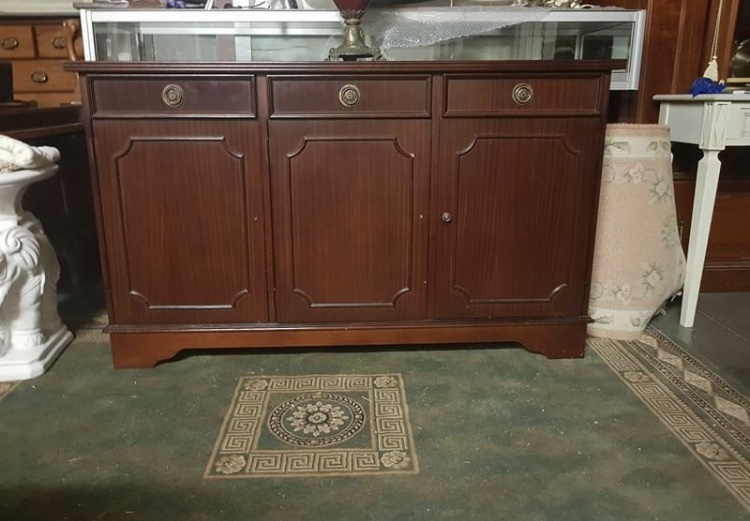
Feel free to message me if you have any questions on upcycling or if you want to share your current project, I’d love to see!
Cheers Talissa
Materials and Tools I used:
Post to Reply